SNB Production WorkflowGuideAdd a user
Add a user
Create an account for a new member of staff, and decide what they are allowed to see before they ever sign in.
You need an administrator account, and you need to know two things about the person before you begin:
- which role they should hold — decide this now rather than guessing halfway through. If you are unsure, read What a role is first;
- whether they will ever use a factory tablet. People who work on the floor need a PIN as well as a password, and the two are not the same thing.
You will also need an email address for them. It is what they will type to sign in, so it has to be one they really use, and no two accounts can share one.
1Open the list of people
In the menu on the left, under System, click Users.
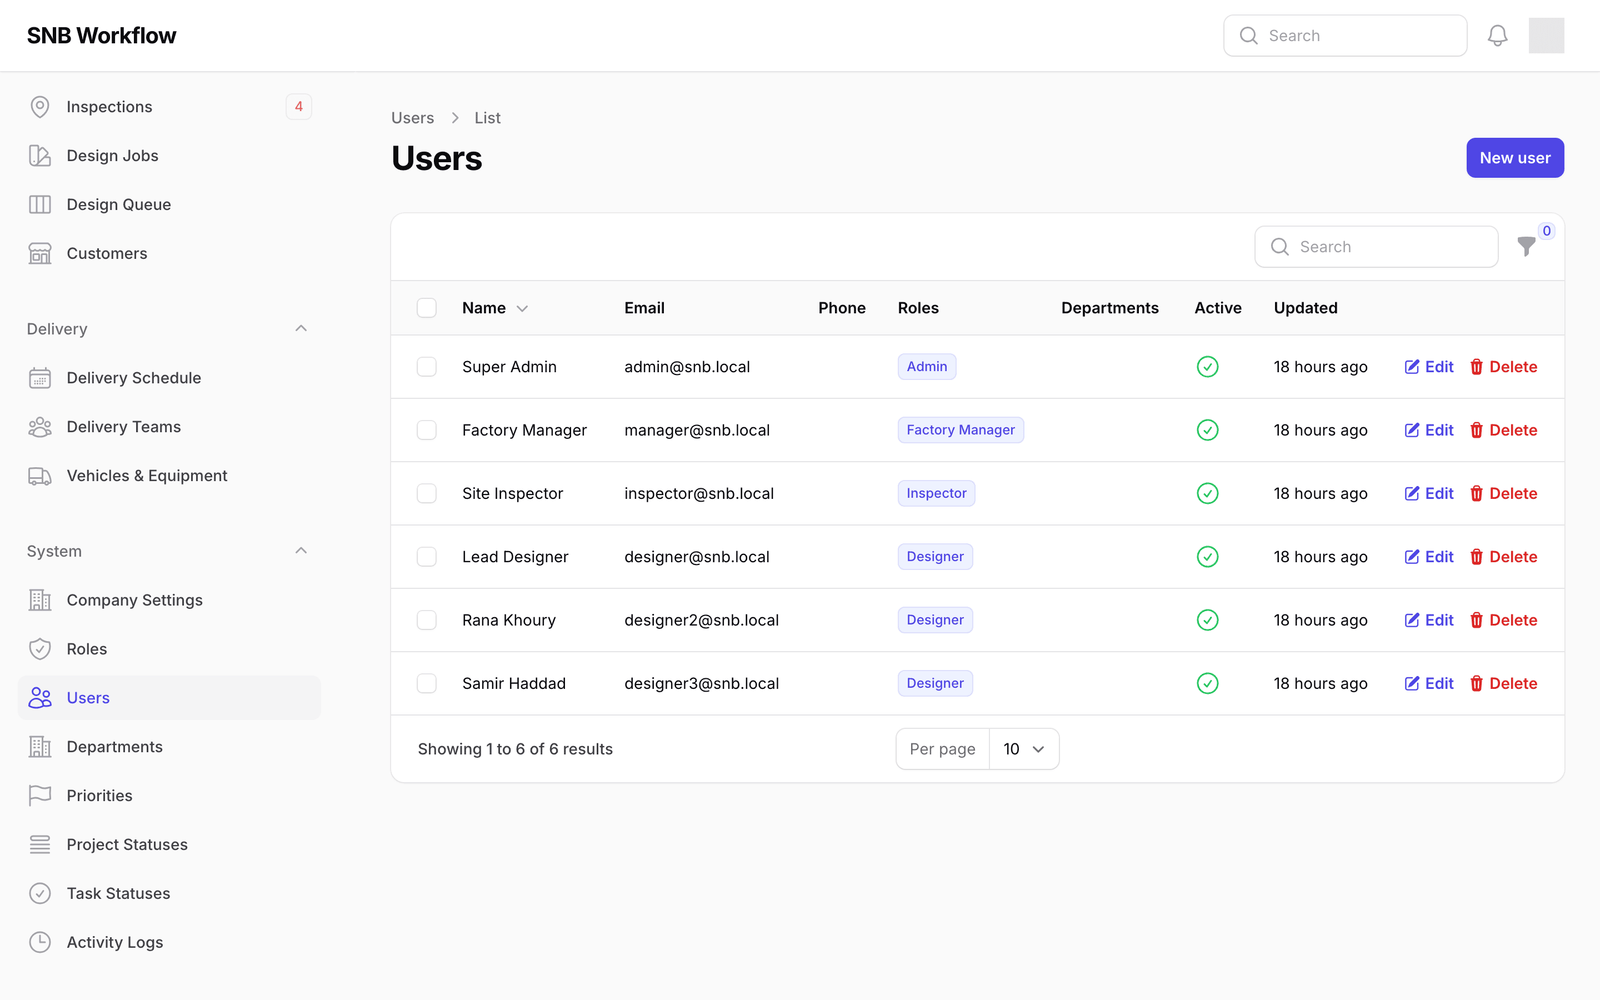
2Start a new account
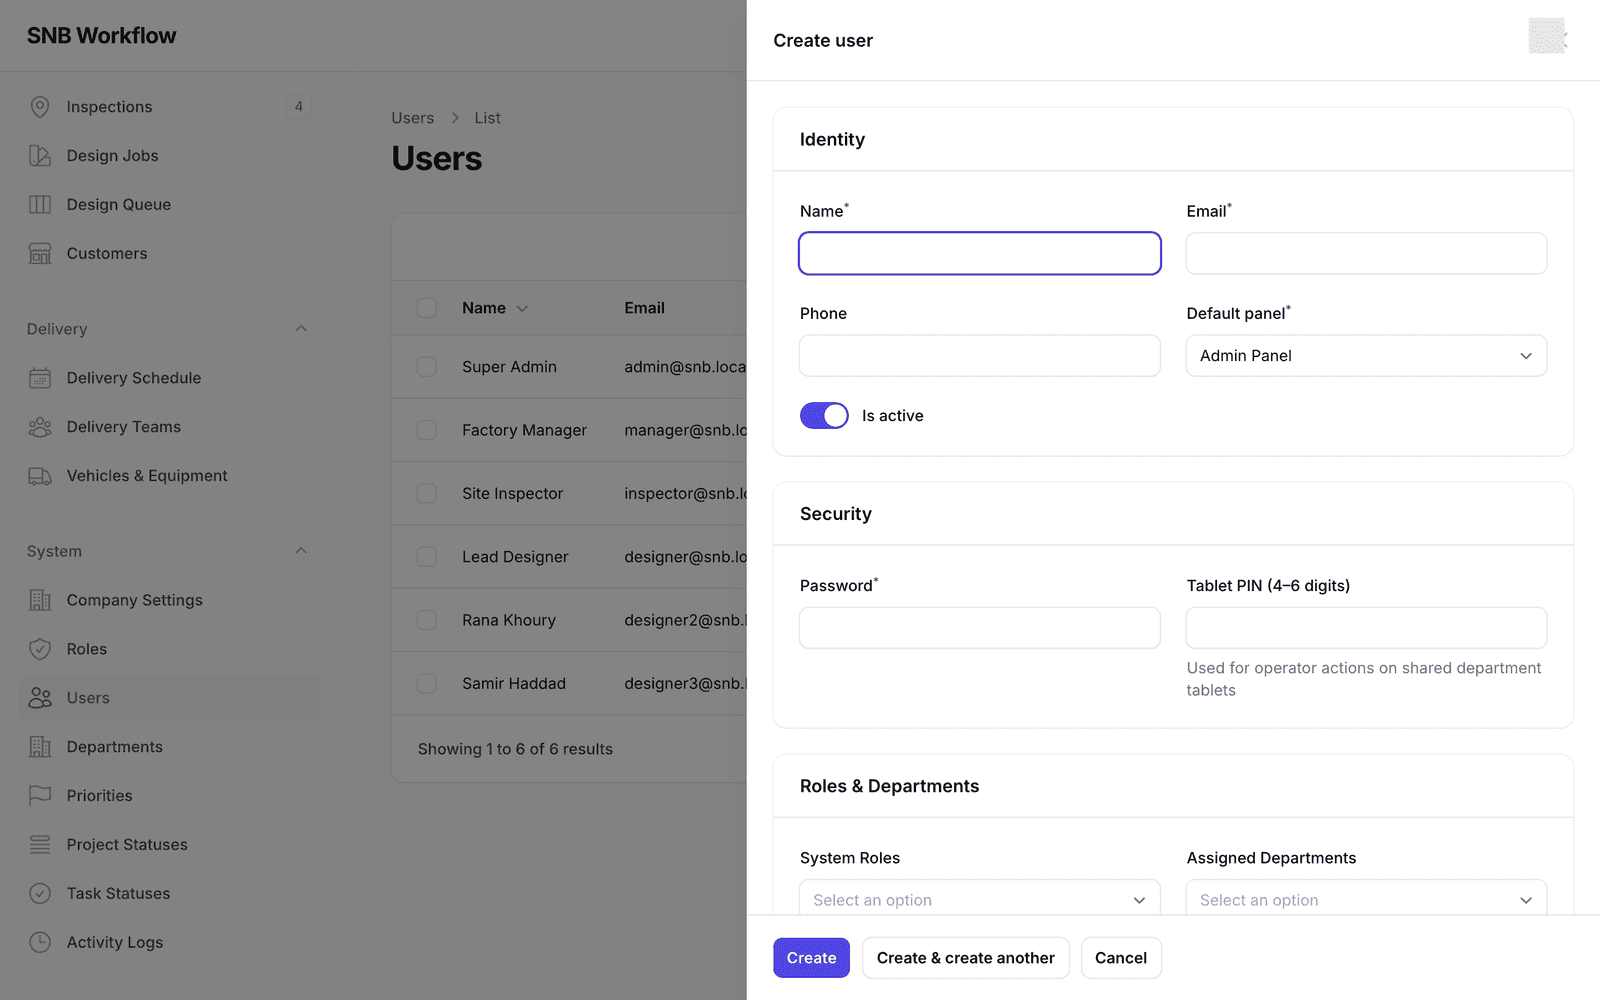
Click New user, at the top right.
A panel slides in over the list. The list stays where it is behind it — you have not left the page, and closing the panel puts you back exactly where you were.
The panel is in three parts: Identity (who they are), Security (how they prove it), and Roles & Departments (what they may do).
A star beside a label means the field is required. You cannot save without it.
3Fill in who they are
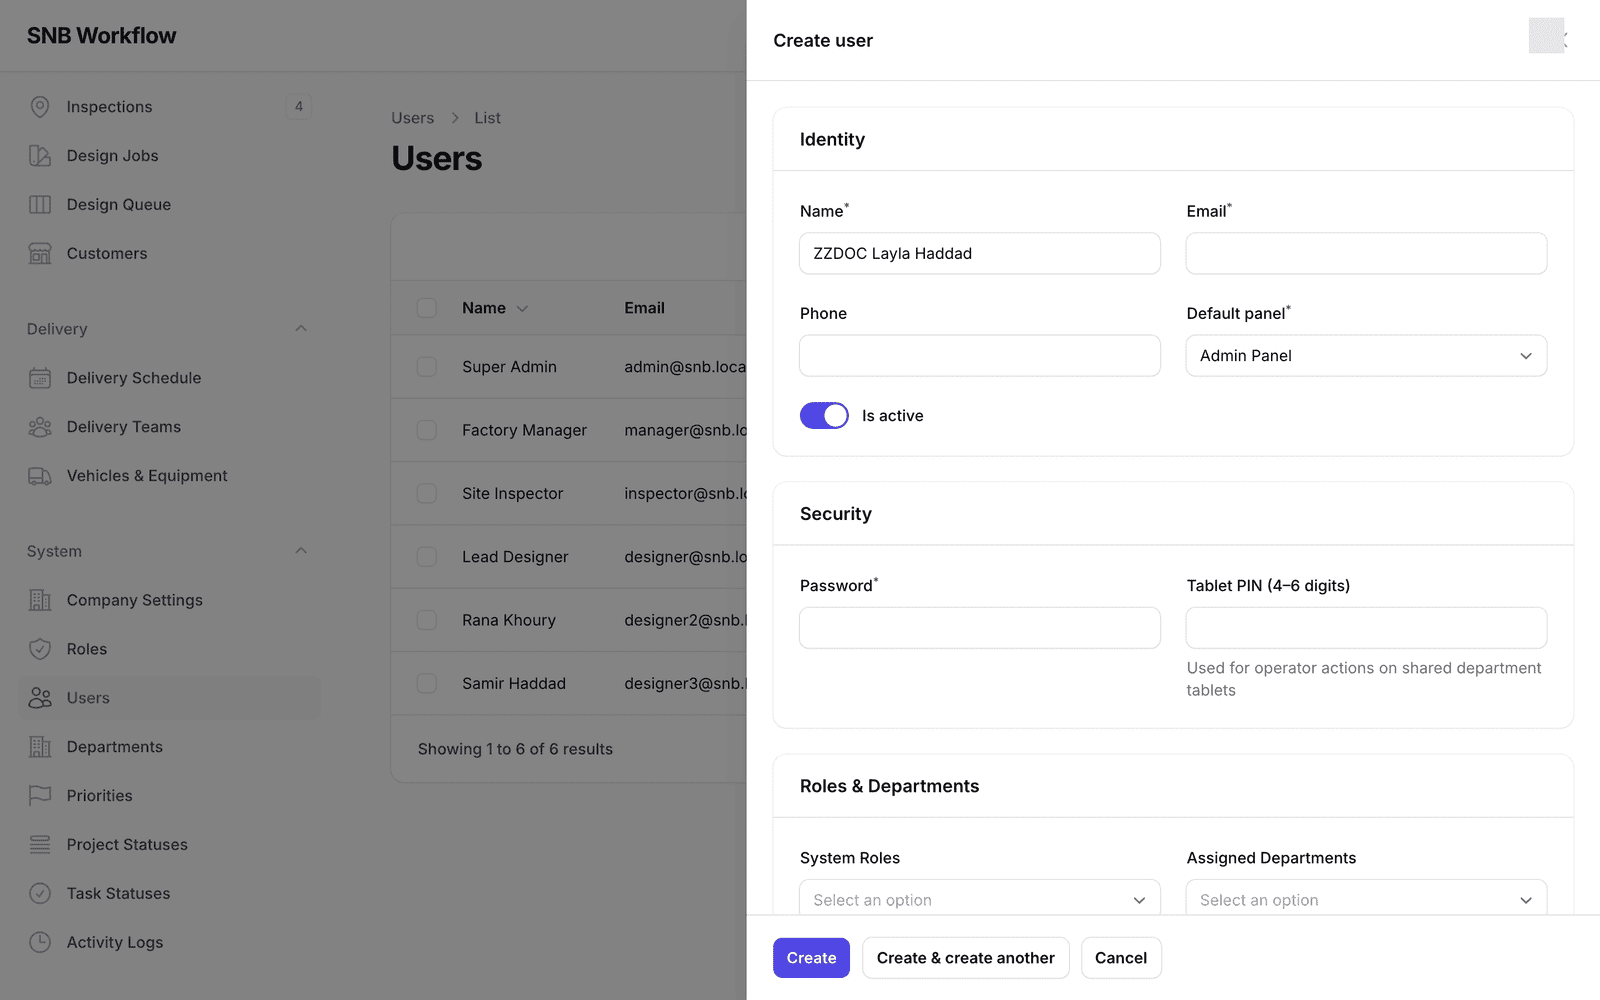
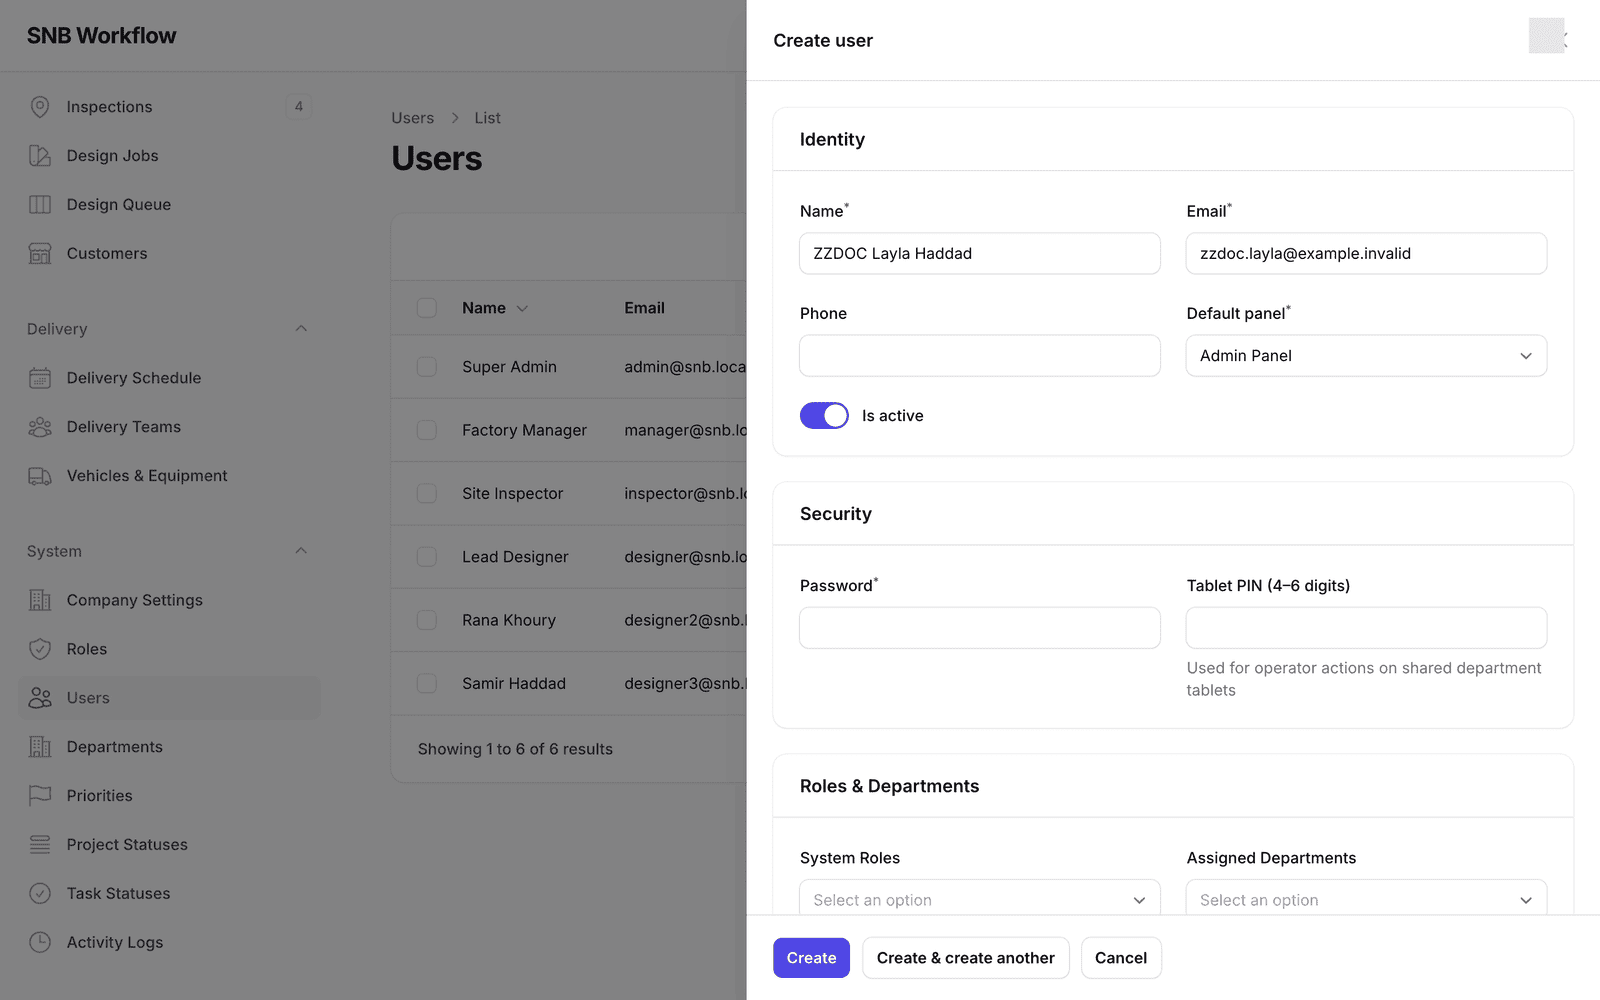
Type the person’s Name and their Email. Phone is optional.
Leave Is active switched on. An inactive account exists but cannot sign in; you would only turn it off for somebody who has left, and there is a better way to do that when the time comes.
 3
3
4Choose where they land
Default panel decides which screen the person arrives at when they sign in. There are two: Admin Panel and Operations Panel.
Pick the one they will spend their day in. Managers and anyone doing setup want Admin Panel; a supervisor running the floor wants Operations Panel.
This is a starting point, not a restriction. It decides where somebody lands, not where they are allowed to go — that is entirely the role’s business. If you pick the wrong one, the person simply begins each day on a screen they did not want, which is an annoyance rather than a problem.
 4
4
5Set a password and, if they need one, a PIN
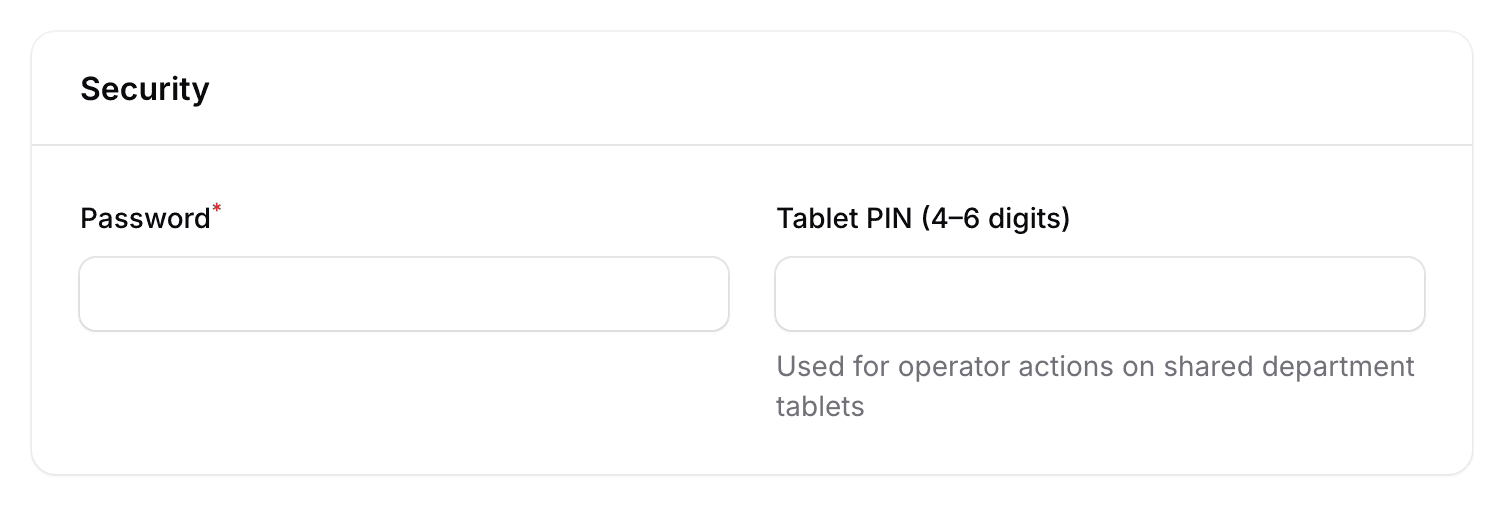
Two different things live in the Security section, and mixing them up is the most common mistake on this screen.
Password is for the office screens — the ones you are using right now. It is required: the account cannot be created without one. Type a password here, then tell the person what it is by some other means. Never write a password down in a document, an email or a message that will outlive the conversation.
Tablet PIN (4–6 digits) is a different thing entirely. The screen itself explains it: “Used for operator actions on shared department tablets.” The factory floor runs on shared touch screens that nobody signs in to. A worker taps their PIN to start or finish a job, and that PIN is how the work gets attributed to them.
Somebody who only ever works on the factory floor still needs a password, because the field is required — but the PIN is the part they will actually use. Somebody who only works in the office does not need a PIN at all.
This manual never prints a password or a PIN, and neither should you. Your administrator will give you these directly. If a PIN is written on a note beside a factory tablet, everything that person does on that screen can be done by anyone who walks past it.
6Give them a role
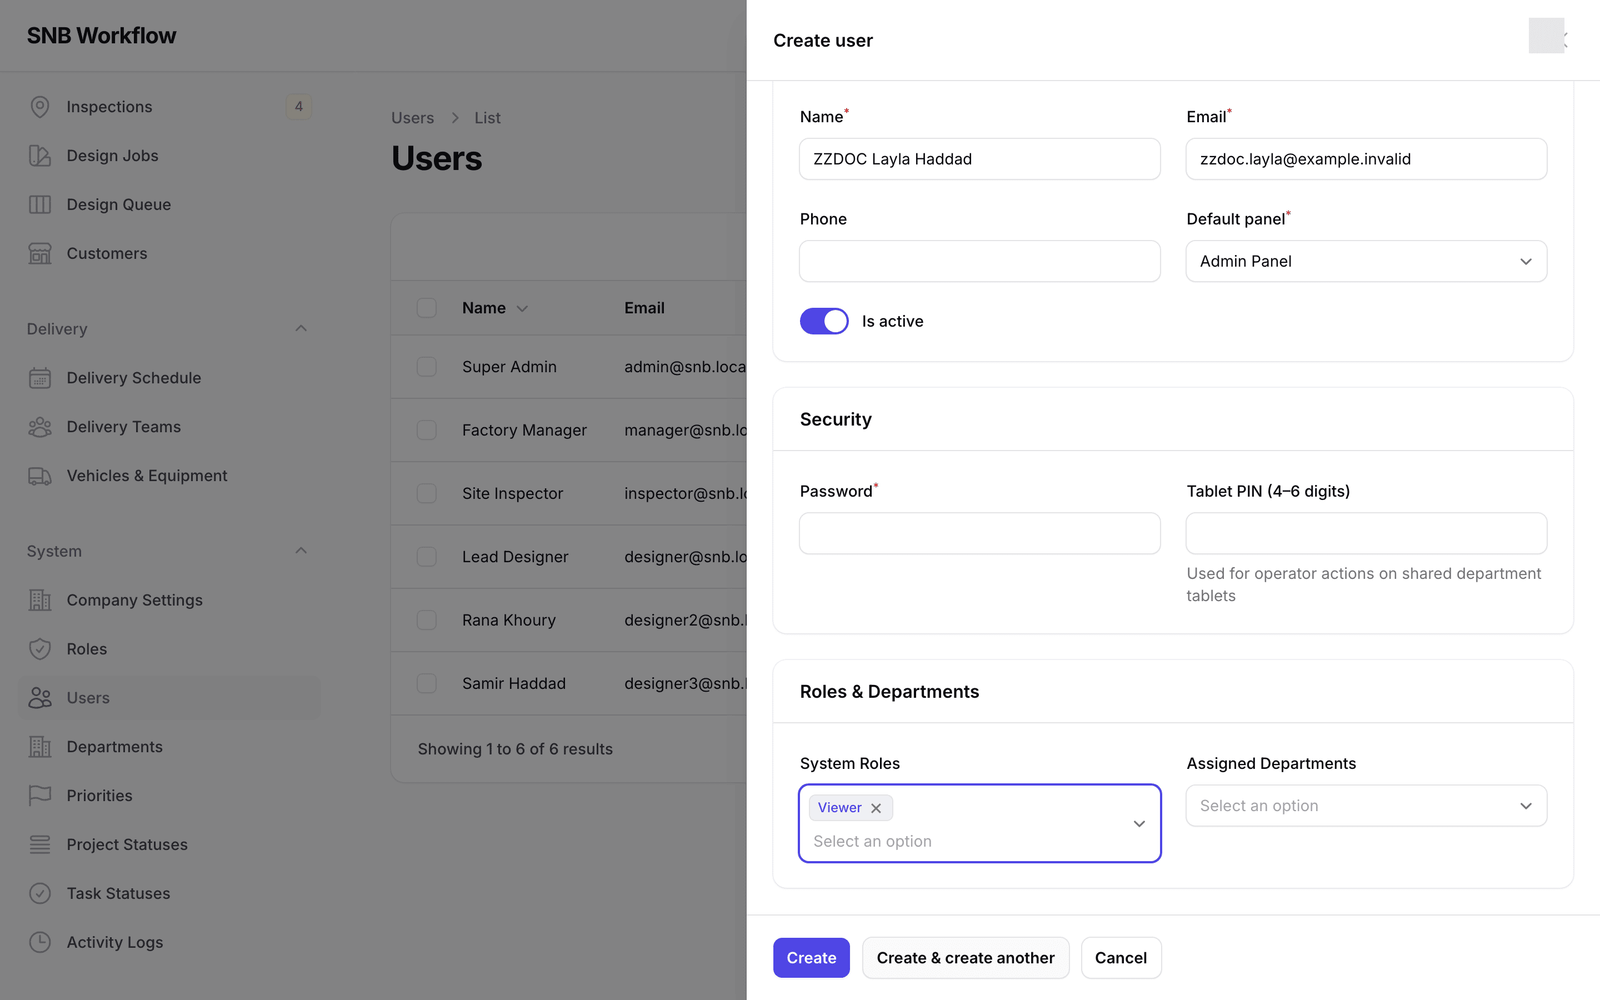
Click System Roles and choose from the list.
This is the field that matters. Everything the person can do follows from it.
The field accepts more than one role, and if you add two the person gets everything on both lists — permissions add together, they never cancel out. That is occasionally useful and easy to do by accident. Unless you have a specific reason, give one role.
 6
6
7Say which departments they belong to
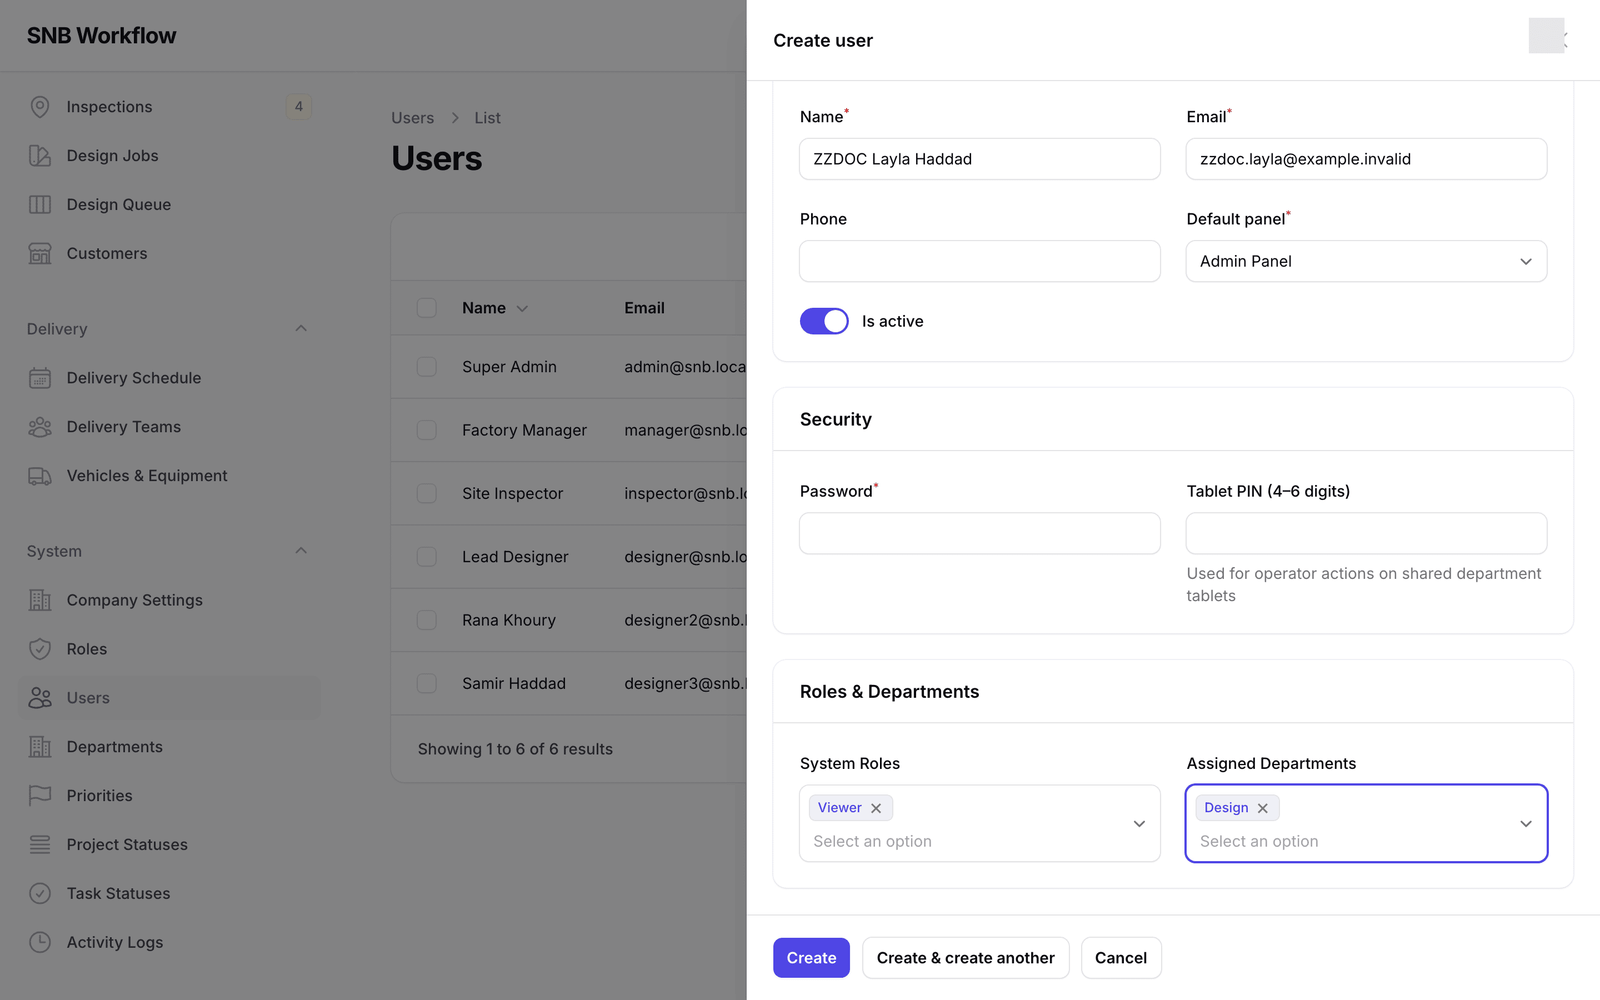
Assigned Departments records where in the factory somebody works — Design, Painting, Assembly and so on.
This is not the same as permission. It describes the person; the role decides what they may do.
 7
7
8Save
Click Create.
A green message confirms the account was made. It clears itself after a few seconds.
Create & create another, beside it, saves this person and immediately opens an empty form. Useful when you are setting up several people at once.

9Find them in the list
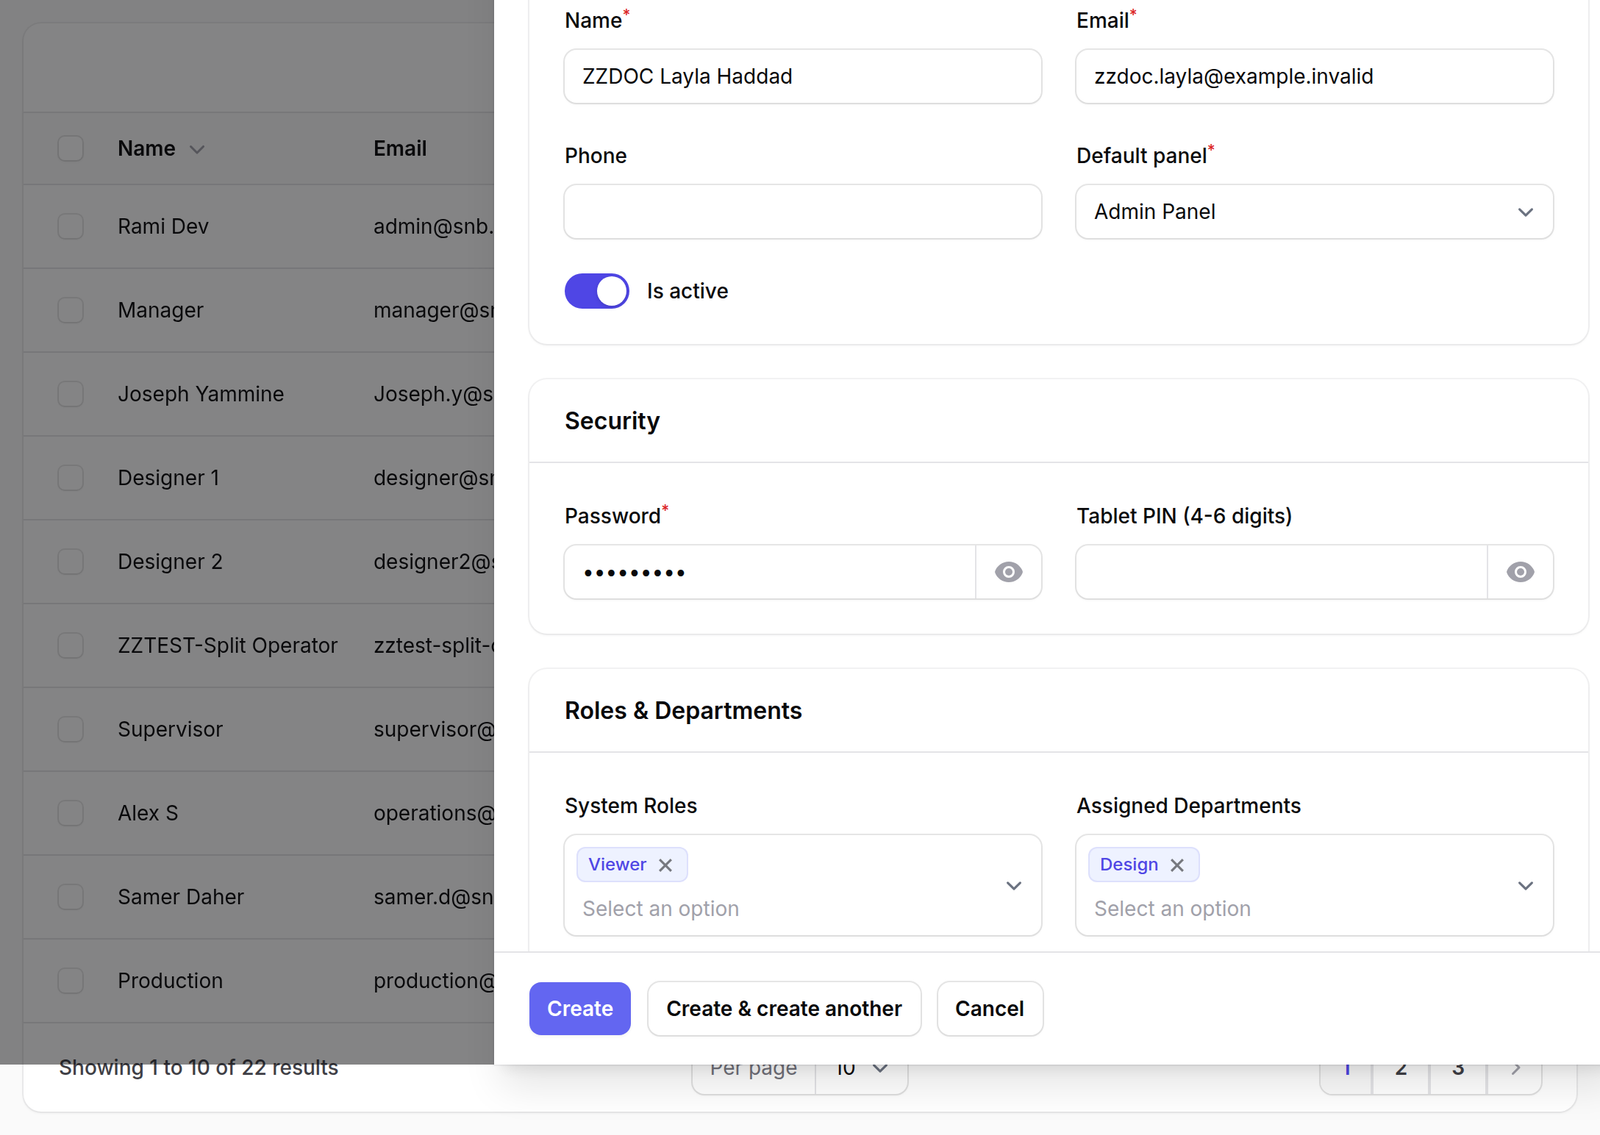
The panel closes and the new account appears in the list, with its role shown as a small badge in the Roles column.
 9
9
What happens next
The person can sign in as soon as they have their password. What they see when they do is decided entirely by the role you gave them — not by their job title, and not by the departments you assigned.
If they are going to work on the factory floor, tell them their PIN separately and make sure they understand it is theirs and not the tablet’s.
If it goes wrong
| What you see | What it means |
|---|---|
| The email has already been taken | An account with that address already exists. Search the list before creating a second one — the person may already have an account that was simply switched off. |
| You press Create and nothing at all happens | Check the Password field. If it is empty the account cannot be saved, and at present the screen does not say so — it simply does nothing. Type a password and press Create again. |
| The new person signs in and sees an empty screen | Their role holds no permissions for the panel they landed on. Check the role, not the account — see Change what someone is allowed to do. |
| The person cannot start a job on a factory tablet | Either they have no PIN, or their role does not include that button. Both are worth checking; see Read a role’s permissions. |